
I used to think the whole Gluten Free thing was just a fad; often raising my eyebrows when I’d hear another friend become one. That was until my middle daughter whom suffered from keratosis pilaris, began getting worse and worse. We tried most of the external treatments, and took her to a couple dermatologists. Not surprisingly, neither doctor felt food was a trigger.
As I mom, I think there is a internal warning signal that sounds and tells you to dive into your own research to care for your children when you aren’t satisfied with answers. This is just what I did. After months of her physically writhing in itchy skin episodes, I decided to try gluten free. With so many alternatives available, this was so easy. I swear to you, within a week, the crying and complaints about even the softest of clothing, subsided. After a month on the diet, I heard no more from her. In addition to her diet, I include a non-dairy acidophilus, along with shea butter externally.
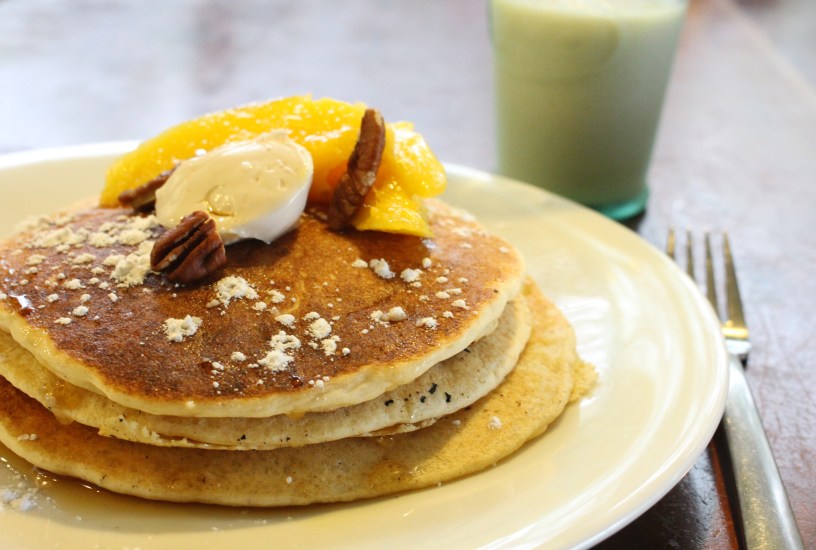
I am constantly adapting recipes for my family, because eat a plant based diet. So it comes as second nature to switch recipes to meet our needs. My daughter Margeux LOVES pancakes. Here is my organic gluten free version. I know you’ll love it. They are light and fluffy, and taste great even reheated the next day. I enjoy mine with Daiya’s non dairy creme cheese, mango wedges, toasted pecans, a drizzle of maple syrup, and a light sprinkle of organic powdered sugar.
GF BASIC WAFFLES
Yield: 6 Waffles
Ingredients:
1 3/4 cups Bob’s Red Mill all purpose flour
2 tsp. double-acting baking powder
1/2 tsp. sea salt
1 Tbsp. maple granules
3 “eggs” – by EnerG egg replacer (powdered non-dairy gluten free eggs)
4 Tbsp. of safflower oil
1 1/2 cups of almond milk
Procedure:
1. In a large bowl, whisk together flour, baking powder, sea salt and maple granules
2. In a separate bowl, beat “eggs”, add oil and milk
3. Make a well in the center of dry ingredients. Pour in liquid ingredients and combine with a few swift strokes.
4. Heat pan and brush with a little oil to prevent sticking, unless you are using a non-stick pan.
