GF Raspberry Thyme Loaf

I met this incredibly inspiring mama of three young boys last year while working the Farmer’s Markets here in town.  She created a line of Gluten Free products, called Josie’s Best, out of dietary needs.  I’ve been able to watch along as her products have grown leaps and bounds. It’s so impressive to watch her success, and be able to include her wonderful product in my own pantry.

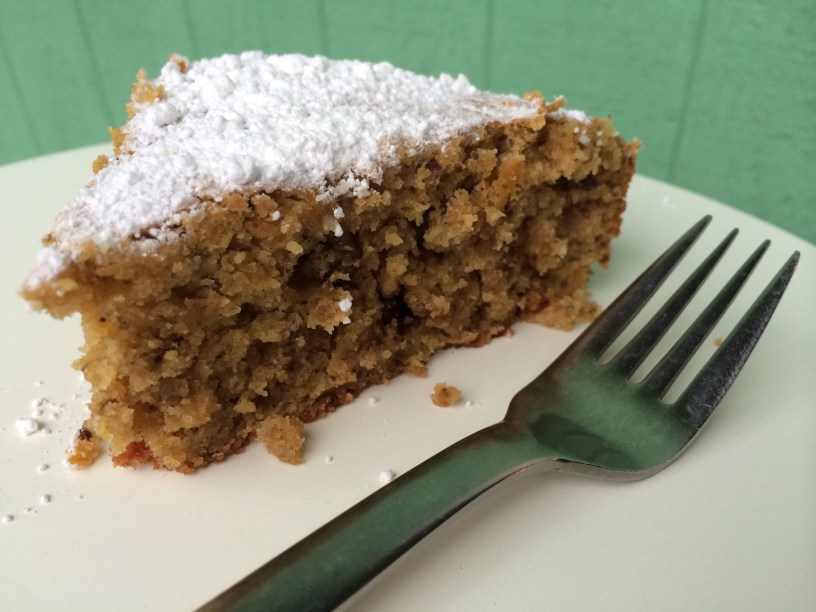
This raspberry thyme loaf was influenced by my garden taking root again; being able to harvest fresh thyme and ogling over what is to become of my raspberry brambles that will soon produce fruit. Having used Josie’s Muffins & More mix, the loaf contains a subtle sweetness from the raspberries, a touch of savory thyme & lemon zest, and is also contains a great source of fatty acids from the flax meal.  After cooling, I packaged this up in a tight container, and it remained moist for a good 5 days.  I’d definitely recommend her line if you have GF friends/family, or are sensitive yourself.

My photo shows Josie’s former packaging, and to see her new packaging is quite a delight. Please check out her IG @ josiesbestgf or https://www.josiesbestgf.com/


IMG_3310.JPG

Ingredients:

1 3/4 cup GF Muffin & More Mix

2/3 cup coconut sugar

1 1/2 tsp. fresh thyme

1 1/4 tsp. b. powder

1/2 tsp. sea salt

1/2 tsp. b.soda

1 Tbsp. flax meal

zest of one lemon

1cup mashed bananas

1/3 cup sunflower oil

1/4 cup + 2 Tbsp. of almond milk

1 tsp. vanilla

1 cup fresh raspberries

Directions:

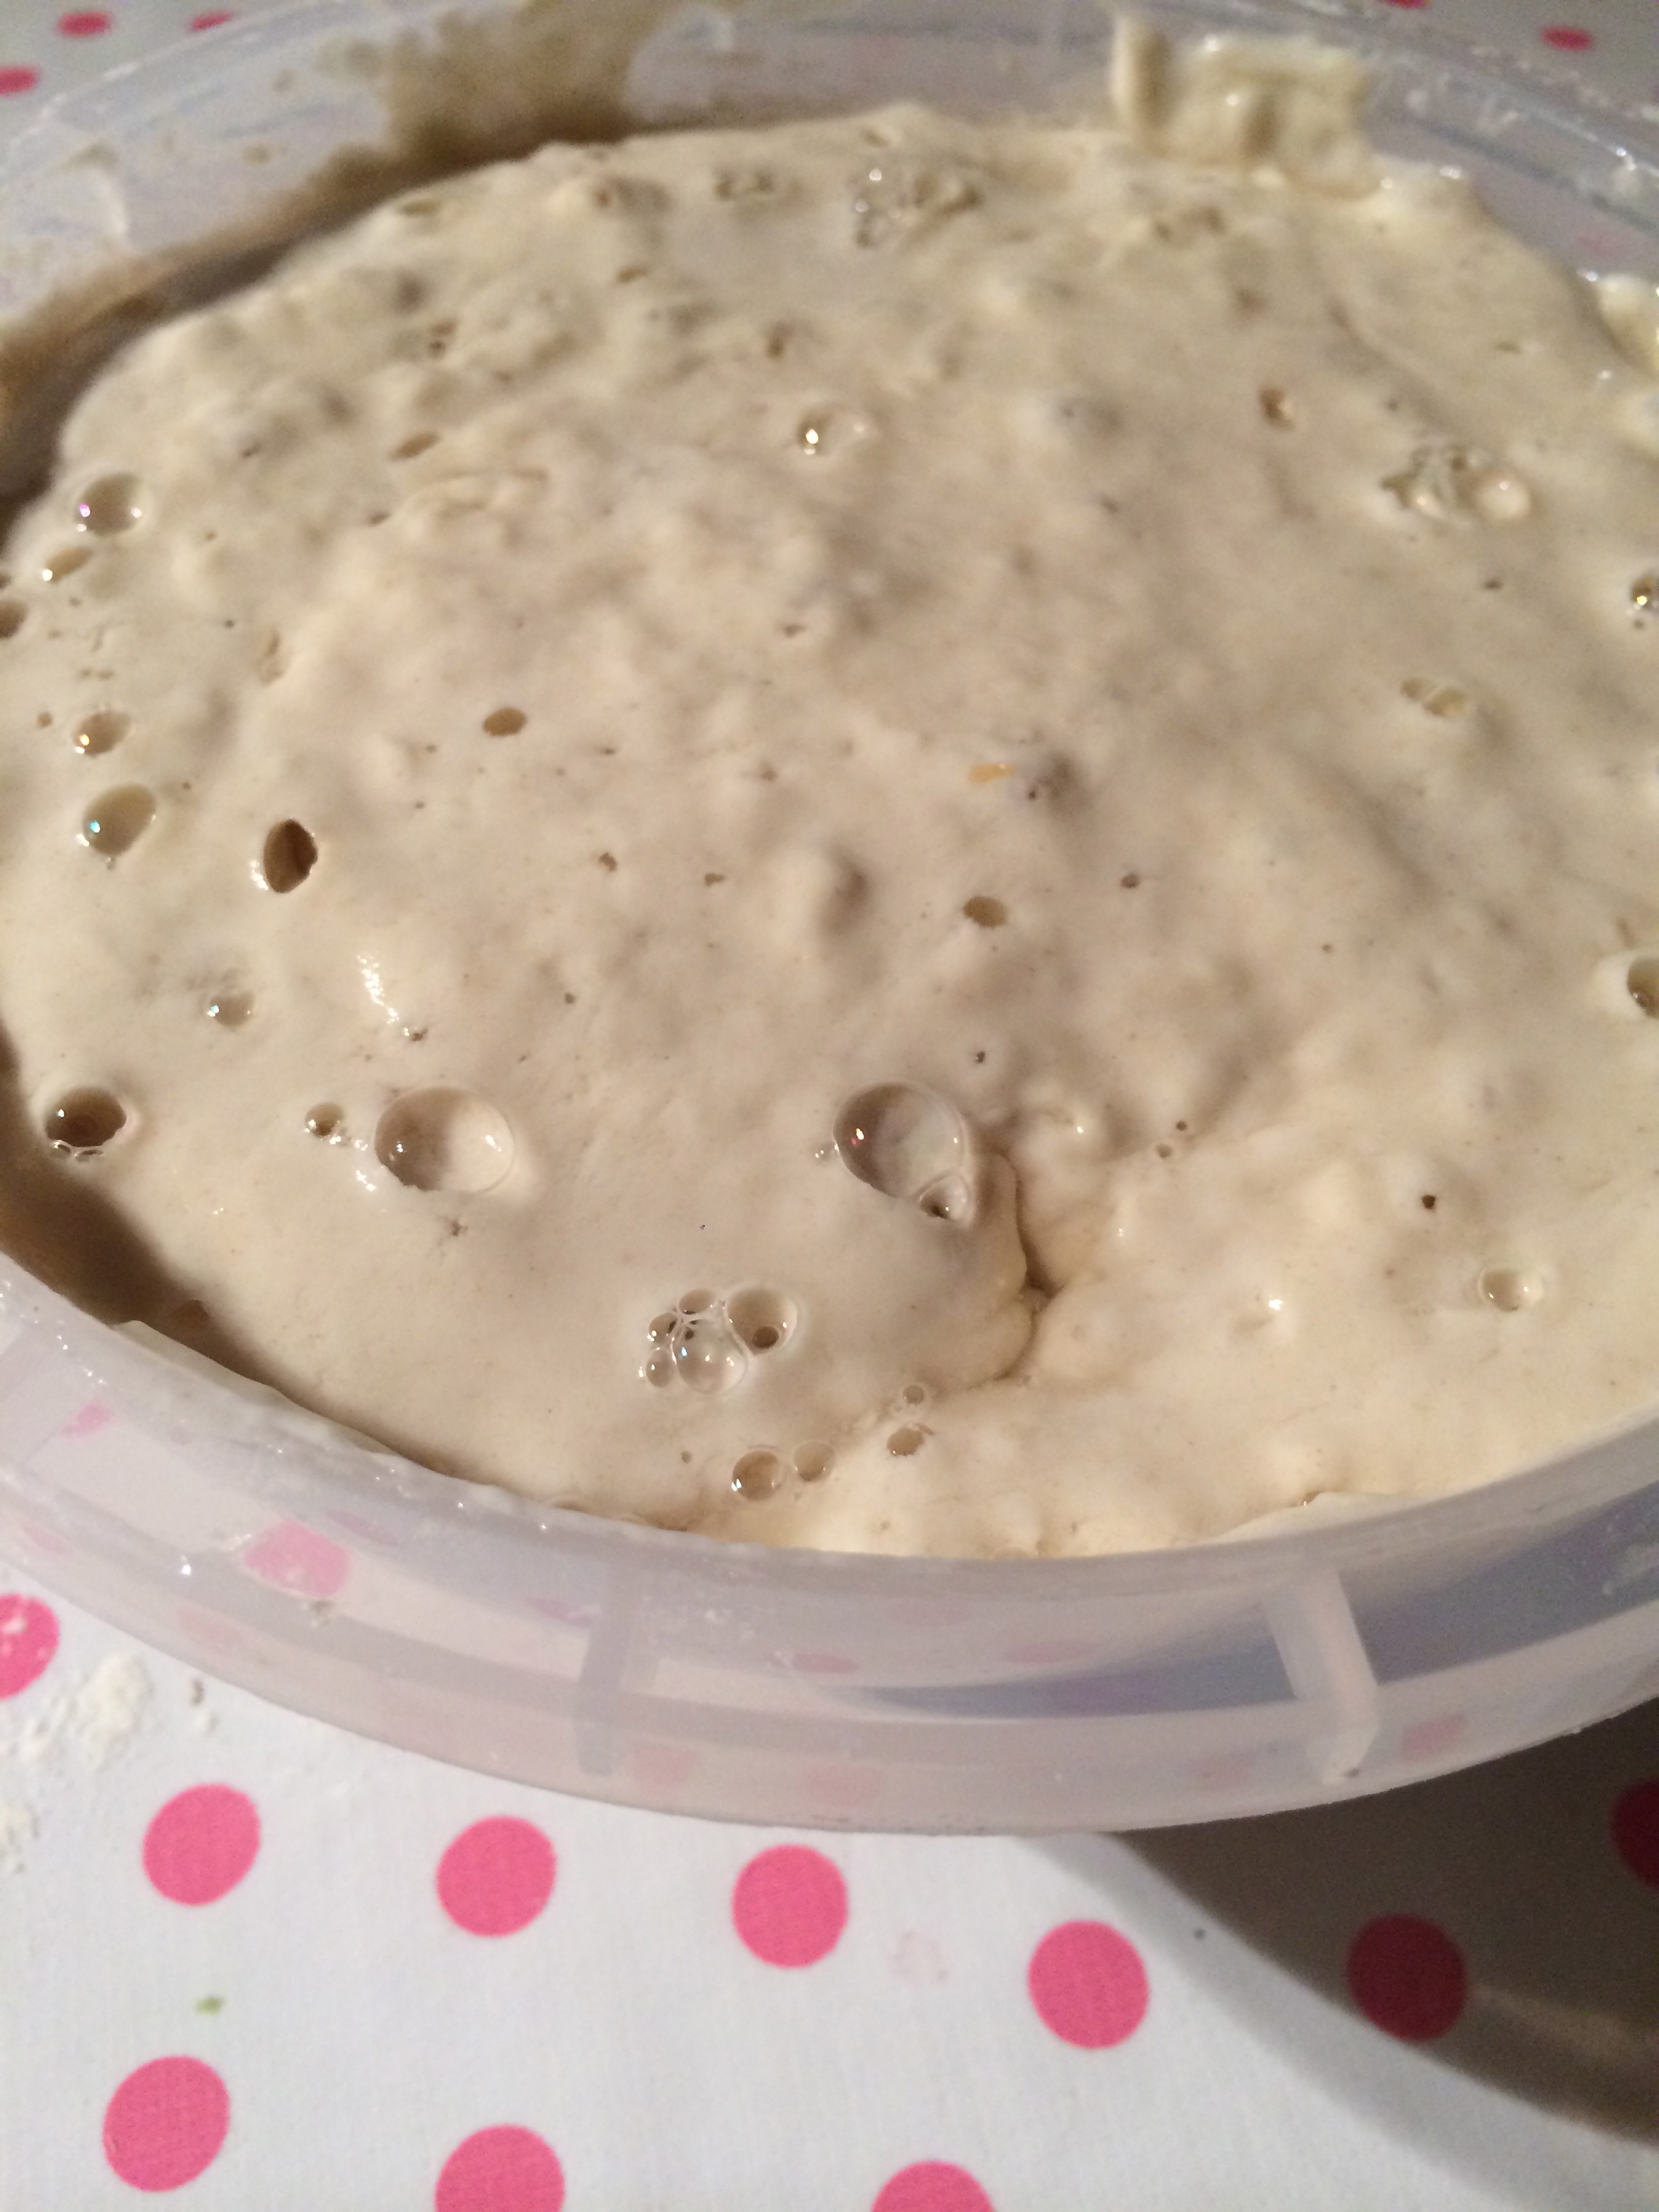
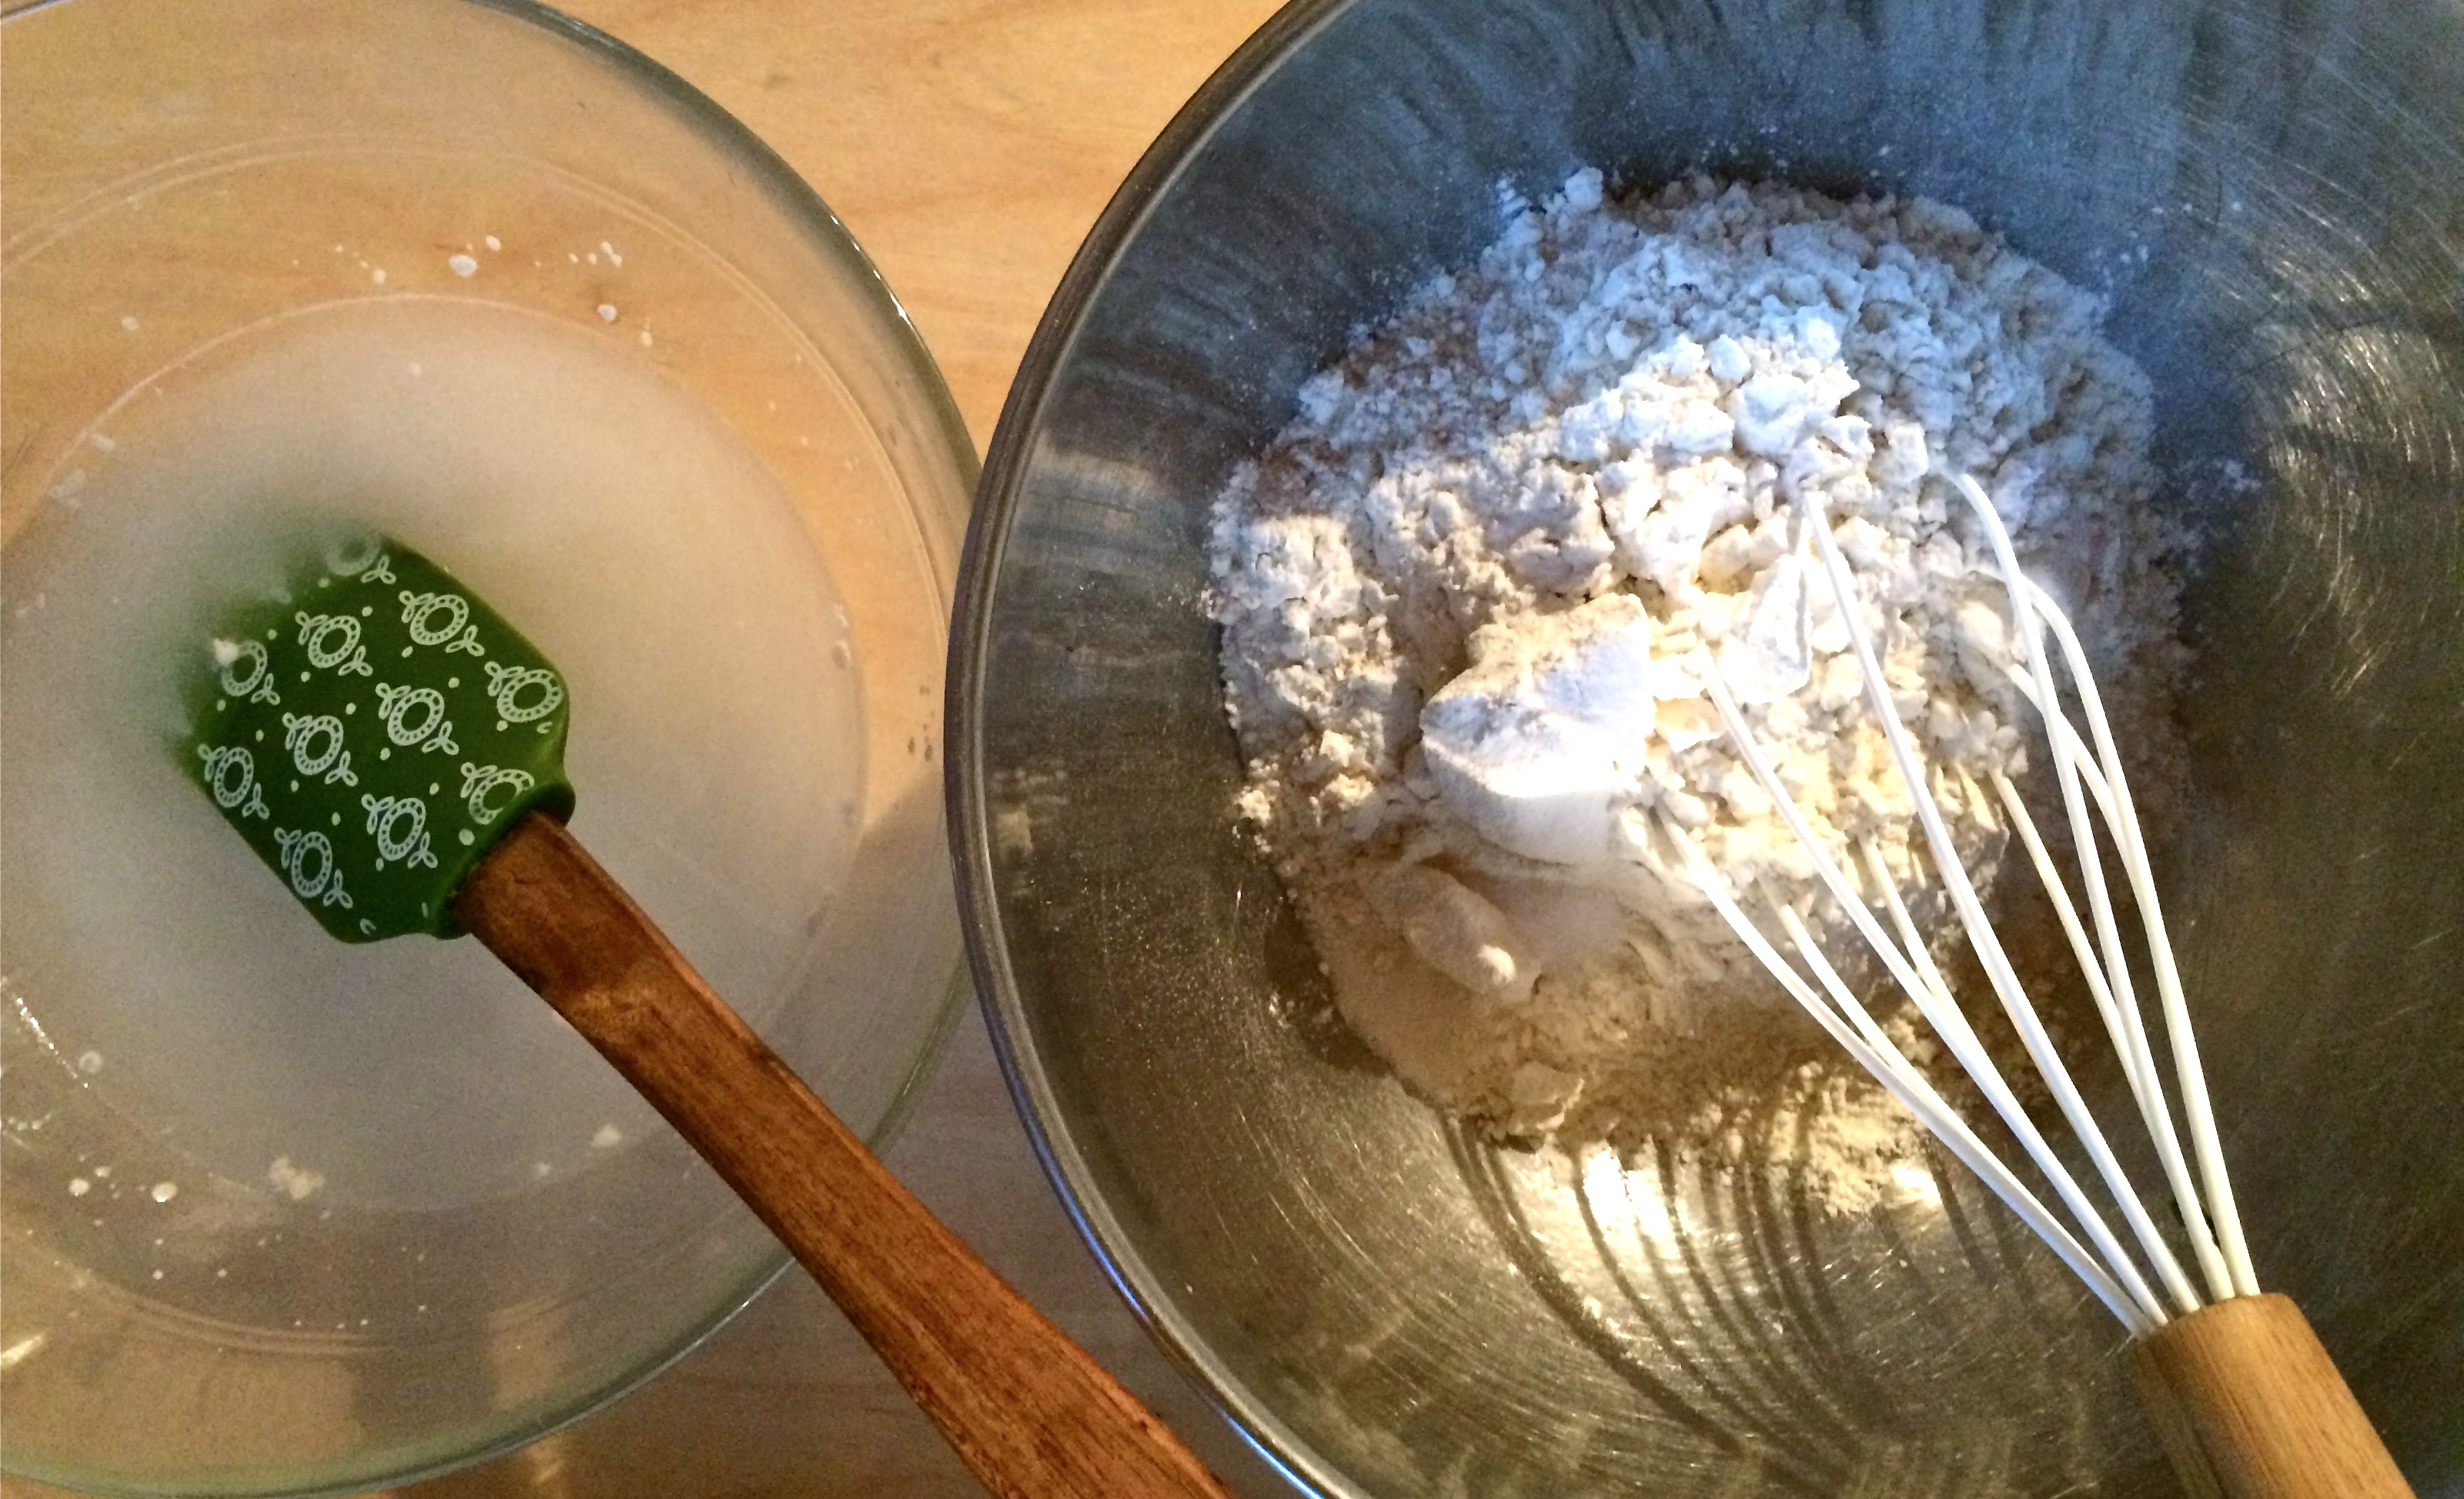
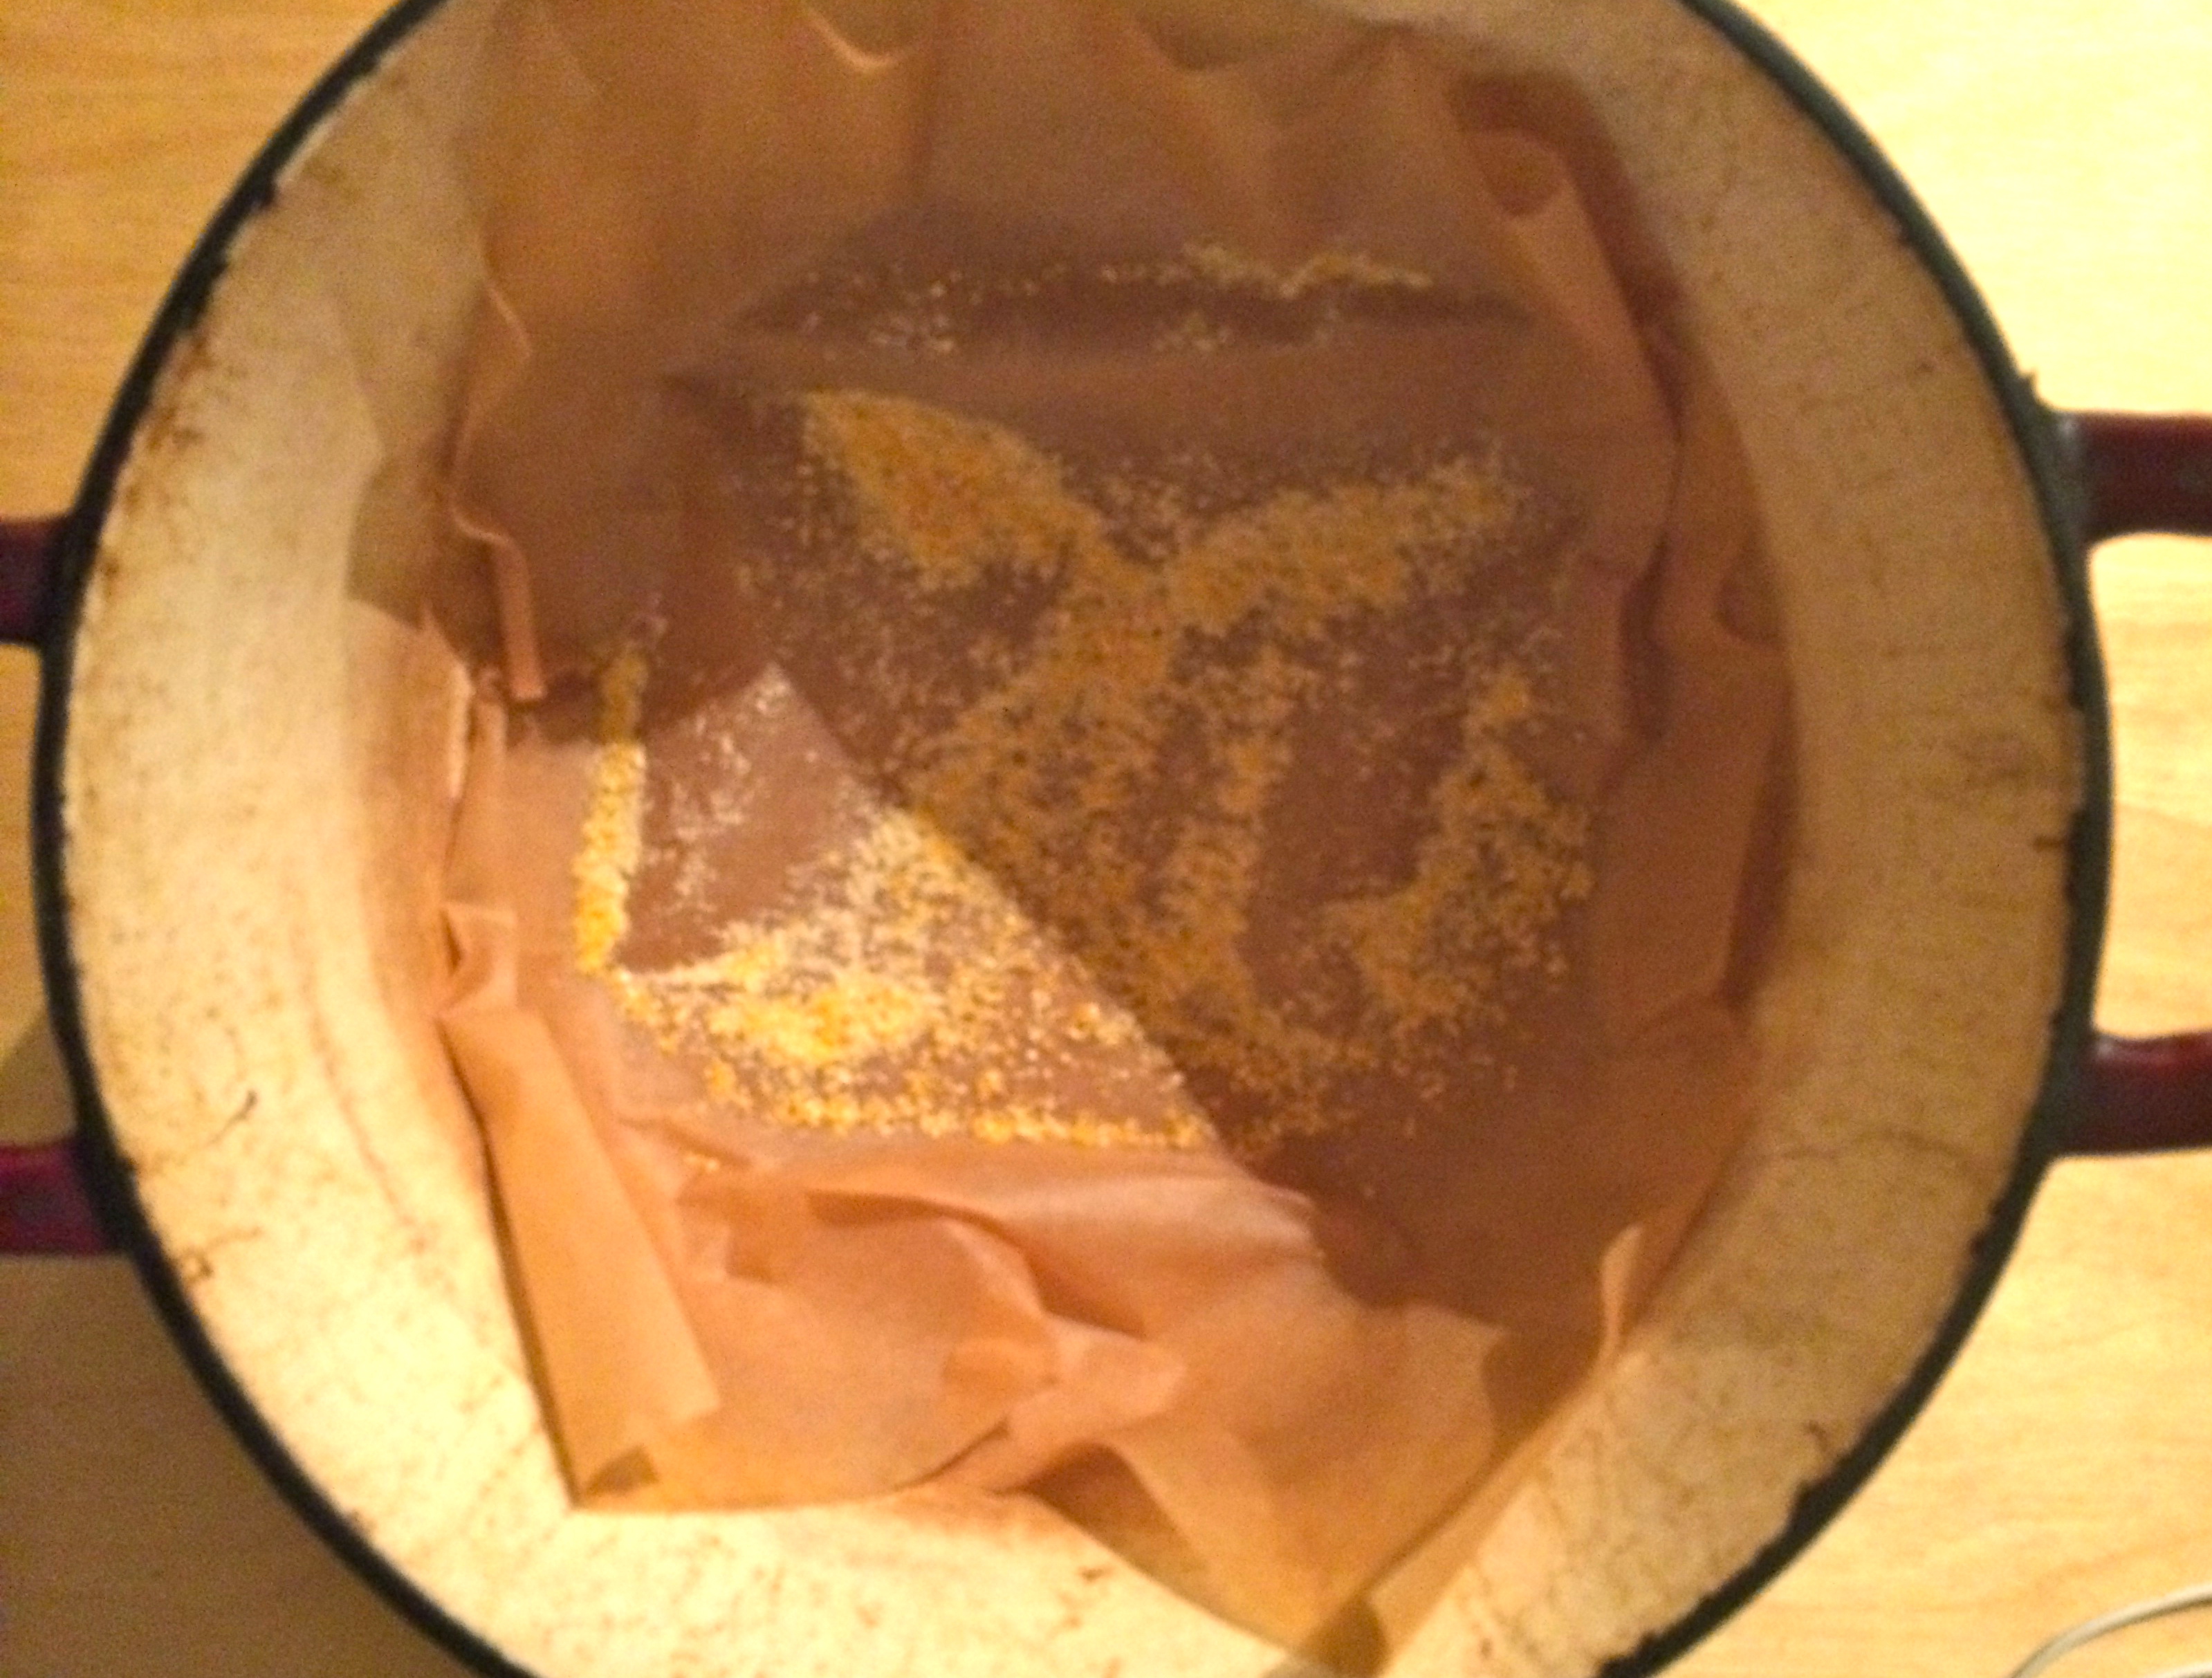
Preheat oven to 350 degrees. Mix all dry ingredients into a bowl: flour, salt, baking soda, baking powder, flax meal, lemon zest, coconut sugar, and thyme.  Whisk well. Set aside. In a separate bowl at the wet ingredients: banana, sunflower oil, almond milk, and vanilla. Mash bananas, and whisk together.  Combine the wet to the dry and whisk.  Fold in raspberries but be careful to not over mix.  Place in a parchment lined bread pan, and bake for 20 minutes, rotate, and bake for 20 more, or until toothpick/knife comes out clean.  Allow to cool before slicing.


Advertisement
Image

No-Knead Sourdough Loaf

Sometimes my recipes derive from requests.  Thanks Kerri Kiran for this recipe development.  Without failure this go, this recipe turned out quite nice.  I love making it into a nice loaf of sliced sourdough bread. My sourdough starter is 3 months old right now; just a baby. But I intend to continue to nurture it, so it will be around for a while.

SOURDOUGH STARTER:

1 package (2 1/4 tsp.) active-dry yeast

2 cups warm water (105 degrees-115)

2 cups unbleached organic all-purpose

To Create Starter: In a medium bowl, dissolve yeast in 1/4 cup warm water.  Add remaining water and flour and mix well.  Place the bowl, uncovered, in a warm place overnight.  In the morning, put the 1/2 cup of starter in a sterilized pint jar, cover it, and store it in the refrigerator or a cool place for future use.  Leave lots of room for expansion in the container, or set the lid without tightening it.  The remaining 3 1/2 cups of starter can be used immediately.

Set the Sponge: Place the 1/2 cup of starter in a medium bowl. Add 2 cups warm water and 2 cups of flour. Beat well, and set in a warm, draft free place to develop overnight.  In the morning, the sponge will have risen and wil be covered with air bubbles and smell yeasty.  It’s now ready to use.

To Store the Starter: It will keep almost indefinitely if covered in a clean glass container in the refrigerator.  Never use a metal container or leave a metal spoon in the starter. If unused for several weeks, the starter might need to sit out an extra night before adding the flour and water to rejuvenate it.

Feeding your Starter: To feed, means to continue to allow the starter to grow for future uses.  Each time I use my starter, I add 2 cups of flour, and 2 cups of water.  I allow this to sit out overnight in a warm spot, covered. If I am not going to use it right away, I refrigerate it.

SOURDOUGH LOAF:

1 cup sourdough starter

5 cups unbleached all purpose flour

1 1/2 cups warm water

1 Tbsp. organic cane sugar

1 1/2 tsp. sea salt

2 tsp. active-dry yeast

Directions:

Mix  sourdough starter in a bowl with warm water, cane sugar, and dry yeast. In a separate bowl, mix flour and sea salt.  Combine wet to dry and mix well.  Place the mix in a parchment lined bread loaf. Allow to ferment overnight.  This will allow the mix to rise also. When you are prepared to bake the loaf, preheat the oven to 425 degrees.  Drizzle olive oil over the loaf, and sprinkle it with filtered water.  This allows for a nice golden loaf and crusty top.  Bake for 35 minutes.

IMG_2762

IMG_2761


Image

Gluten Free Pumpkin Orange loaf

A great flavor for Halloween; a wonderful way to embrace that full pumpkin fare.

INGREDIENTS:

1 3/4 GF Bob’s Red Mill all purpose flour

1/2 cup rice flour

1 1/4 tsp. baking powder

1/2 tsp. salt

1/2 tsp. baking soda

2/3 cup maple syrup

1/3 cup safflower oil

2 Tbsp ground flax meal

1 tsp. pumpkin pie spice

1/4 cup cranberries

1 Tbsp. freshly grated and minced orange peel

1/4 cup toasted walnuts

1/4 cup almond milk

1 cup of Pre-baked and pureed pumpkin

DIRECTIONS:

* Pre-bake and puree peeled and seeded pumpkin. To do so: slice, peel outer rind, cube and place on oiled baking sheet. Bake at 350 for 30-45 minutes until tender.  Add to a blender and place on puree.  If it seems too thick, add 1 Tbsp. at a time until you get the desired consistency. Should be the consistency of baby food. (In fact, if you have a baby, this is a great way to introduce solids; full of nutrients)

Preheat oven to 350 degrees. In a bowl, combine the all purpose flour, rice flour, baking powder, sea salt, baking soda, pumpkin pie spice, and orange peel.  Whisk.  In a separate bowl, the maple syrup, safflower oil, flax meal, almond milk, and pureed pumpkin.

Add wet to dry. Mix well. Fold in cranberries and walnuts.  Bake at 350 for 35 minutes or until toothpick comes out clean.  It is sweet enough on it’s own to go without icing or powdered sugar.


Image

Rustic No-Knead Bread Loaf

Kneading bread has always been therapy for me.  There is something so therapeutic about kneading bread over and over and forming a supple smooth mound; like a babies butt. It’s enjoyable and relaxing. But time ticks away, and every now and again, I’m in a pinch for not enough time.  This recipe is great for preparing, leaving alone, and coming back to when you’re ready.  Not only is it easy, it’s incredibly delicious. I hope you find this recipe as easy as I do, and as enjoyable.

DOUGH:

3 cups organic unbleached all-purpose flour

1/4 tsp. dry yeast

1 1/2 tsp. sea salt

1 1/2 cups filtered warm water

1/4 cup organic corn meal

1/8 cup olive oil

additional pinch of sea salt

1/4 cup blend of sunflower seeds, chia seeds, sesame seeds, flax seeds (optional)

parchment paper, dutch oven

DOUGH DIRECTIONS: In a mixing bowl, combine the flour and sea salt. Whisk.  In a separate bowl, combine the warm water and yeast. Whisk. Combine the wet to the dry and fold in using a rubber spatula.  Roughly mix it all together. The mound does not need to be smooth. It will look jagged and pointy. Cover with a clean kitchen towel or cover with plastic wrap. Set aside in a warm location for 8-12 hours. When you see the mound after the time is over, it will be bulbous and smoothed out.  This is due to the yeast working its wonder and the time allowed to ferment (fermentation process allows for easier digestion of bread/ much like sourdough) After this process, line a dutch oven with a piece of parchment paper and sprinkle with 1/8 cup cornmeal.  Roll the dough into the dutch oven and cover for one additional hour in a warm location.

IMG_2640

IMG_2641

IMG_2643

IMG_2638

BAKING DIRECTIONS: Lower all racks in oven to the lowest possible allowed. Preheat oven to 425. Drizzle with olive oil. Sprinkle the top with the remaining 1/8 cup cornmeal, optional seeds, and sprinkle of sea salt. Bake for 35 minutes on lower rack with lid on. When the 35 minutes is over, bake with lid off at 425 for an additional 5 minutes or until golden brown.  Allow to cool before cutting.

*** I have allowed much longer rising time.  I’ve prepared the dough at 2 pm and not allowed the 1 hour additional rising time until 9 am the next morning. It just gets the dough to have more of a sour taste; which I prefer (much like a sourdough)